

We harvested enough apples this year to can more apple slices and make applesauce for the first time. Nana has made apple pies for years, but of course, it tastes so much better when you know how much blood, sweat, and tears have gone into a dish. Thank you, Aunt Jill, for your diligence, and thank you, God, for the harvest. When Nana is at the grocery store, she looks for any sweet tart apple, or a mixture of apples. She especially likes the Pink Lady variety. This might be one reason that we included them in our small orchard.
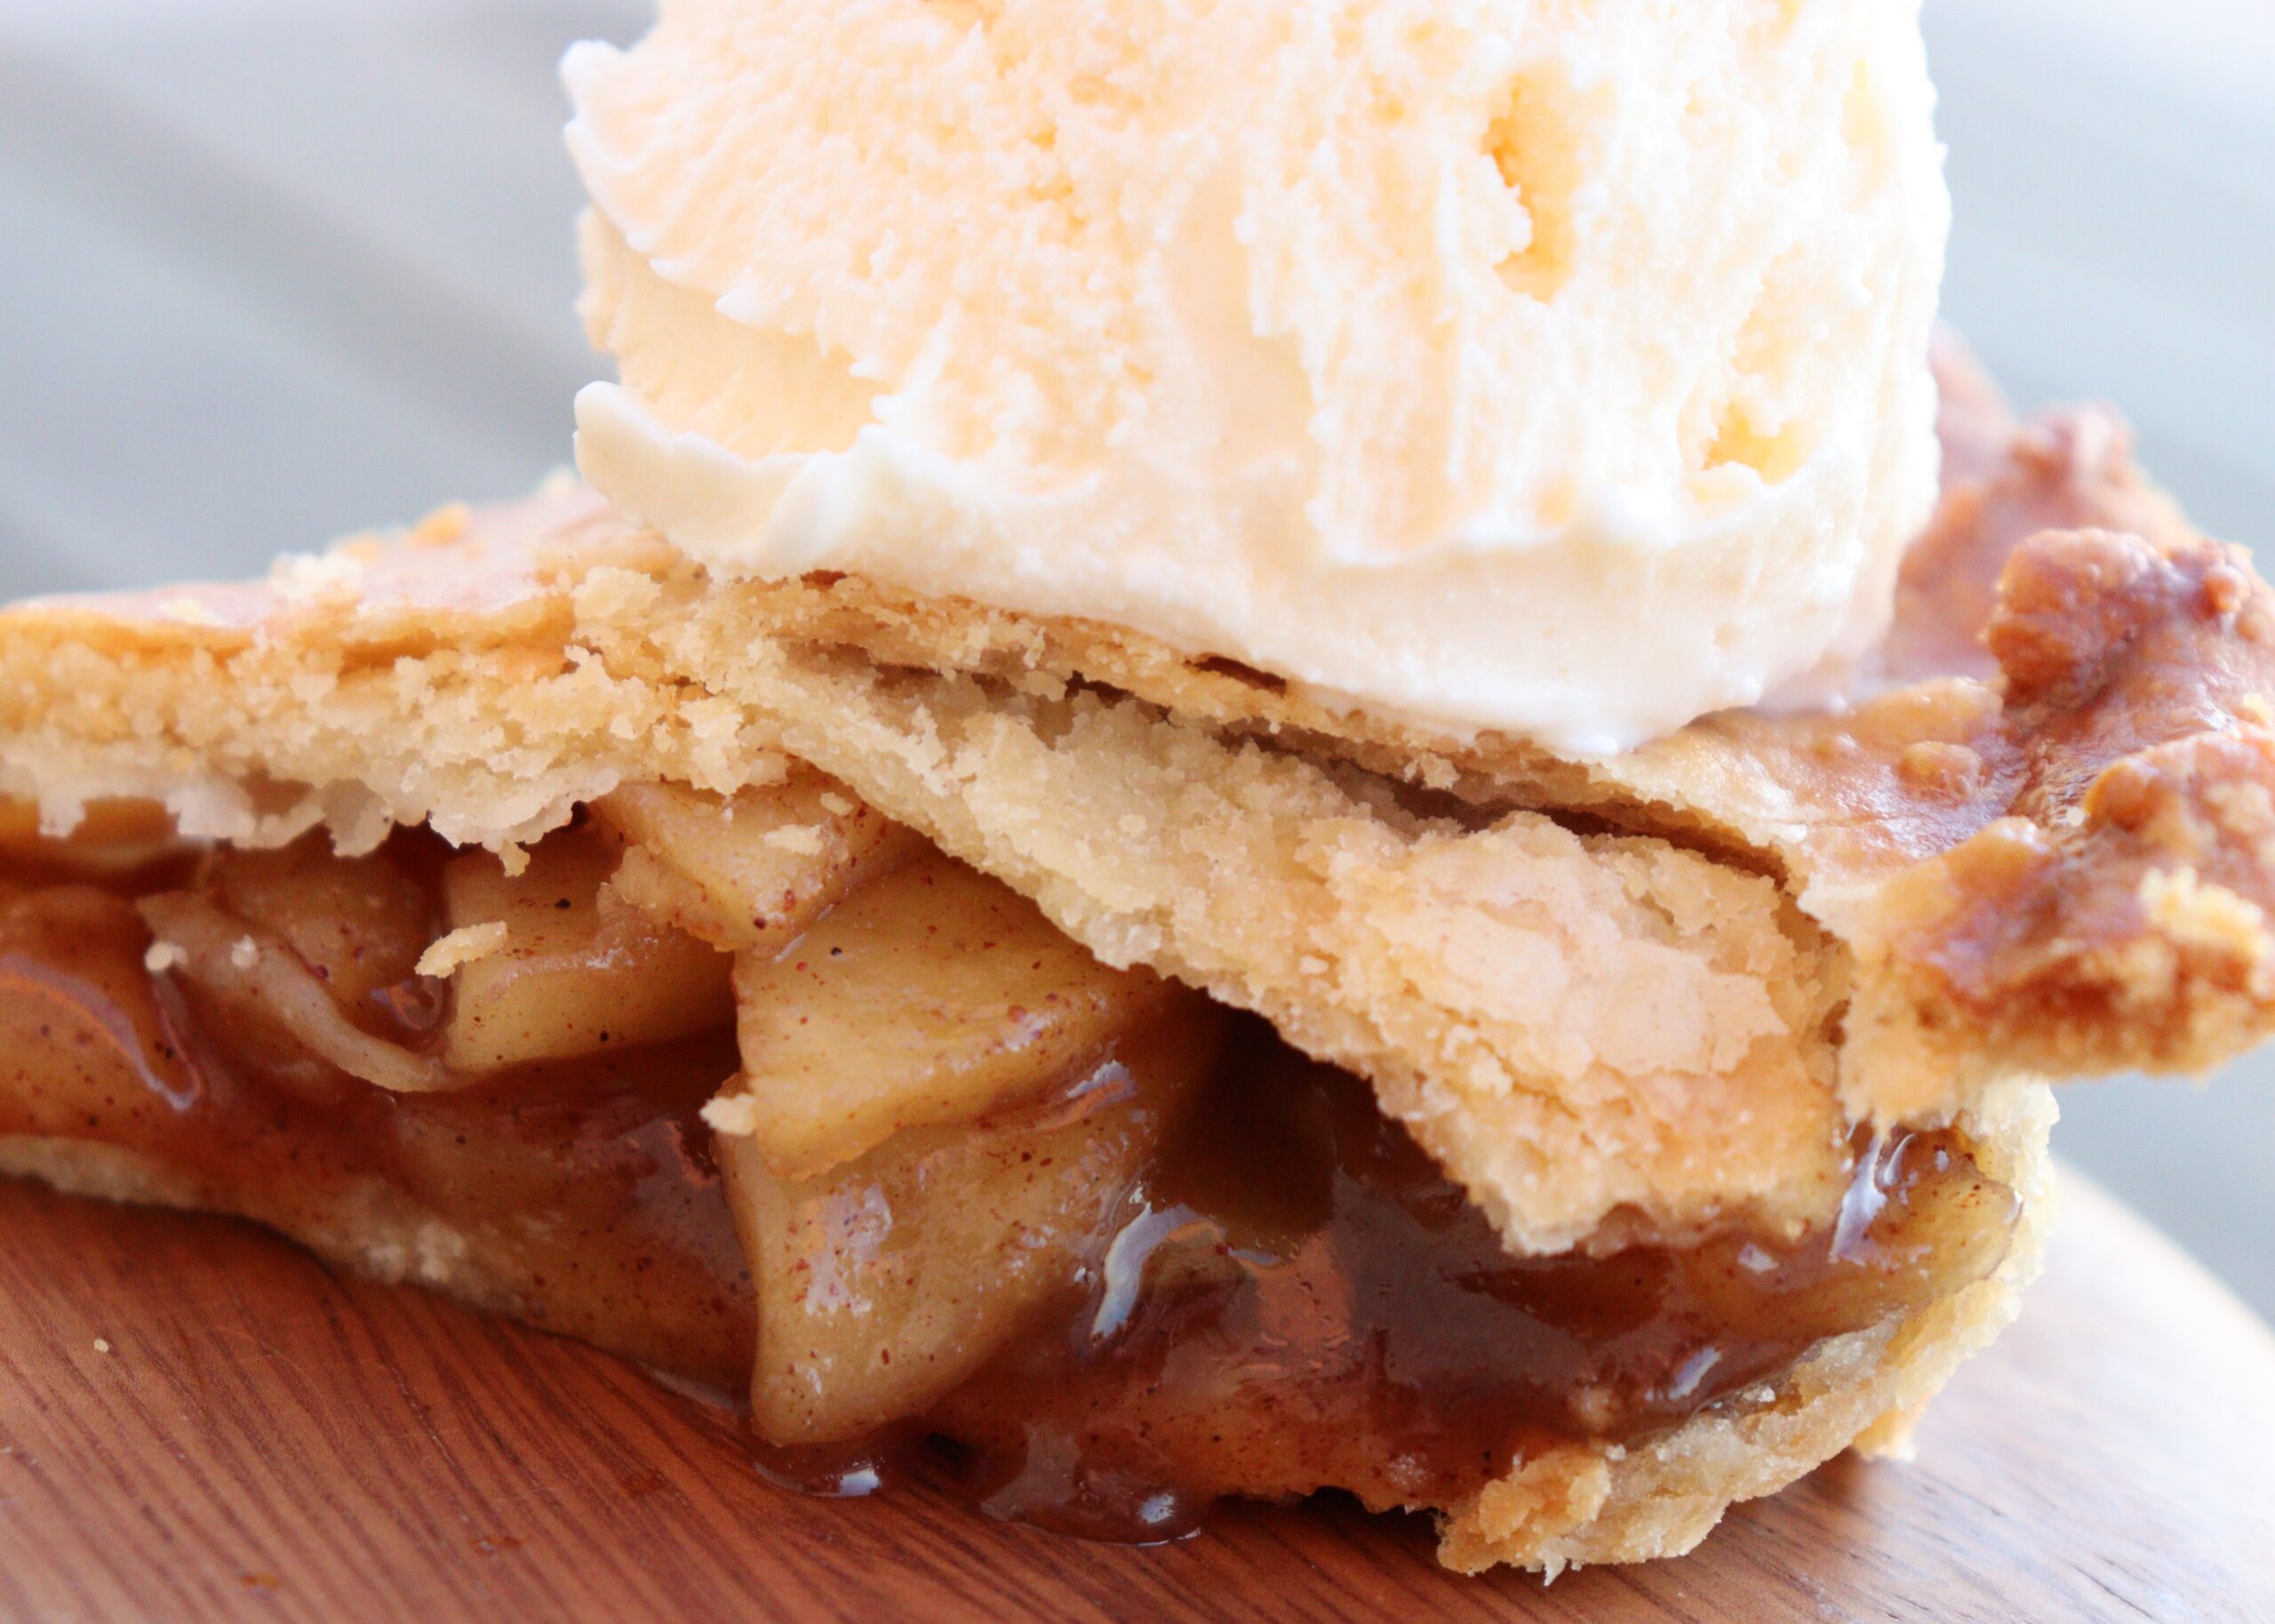
We often end up eating apple pie in the fall after harvesting our apples, but everyone knows that apple pie served with a scoop of homemade ice cream in the summer is amazing. If you have your own apple trees or made haul on reduced priced apples, you may want to try Nana’s apple pie filling so you can enjoy your apples year-round. You may also enjoy your apple pies on the Thanksgiving table along with pumpkin oatmeal cookies. A crowd favorite in our family is Aunt Jill’s Not the Same Ol’ Dump Cake.
Ingredients
- pie crust (Each pie needs a bottom and a top.)
- 7-8 apples
- ½ cup brown sugar
- ½ cup sugar
- ¼ teaspoon salt
- 1 teaspoon cinnamon
- ¼ teaspoon ginger
- ¼ teaspoon nutmeg
- 2 tablespoons cornstarch
- 1 tablespoon butter
- 1 egg
- 1 tablespoon water
Instructions
- Peel, core, and slice the apples into 1/4-inch-thick slices, and place in a bowl.
- Sprinkle both sugars, the salt, and remaining 5 spices over the apples and toss with your hands until all apples are evenly coated.
- Set aside for about 1 hour at room temperature.
- Roll out half of your dough and place in the bottom of the pie pan. Refrigerate while making filling.
- Roll out the other half of the dough to a similar size and place on a parchment-lined baking sheet to refrigerate also.
- Preheat oven to 400 degrees Fahrenheit with rack towards the center of the oven.
- Toss cornstarch with apples then place them into prepared bottom crust. Using your hands, pack down the apples to a height even with the edge of the pie pan.
- Pour the juices (up to 1 cup) in the pie pan as well.
- Cut butter into 8 or so small pieces and dot them over the apples.
- Place the top dough on the pie. For pies Nana usually cuts slits instead of doing lattices.
- Whisk the egg and water together. Brush on the top crust.
- Place the prepared pie, in pie pan, on a cookie sheet and bake for 75 minutes. (If the top of your pie browns too much, loosely place foil over the top. It may need to be done just around the edges as well.)
- Let cool slightly before serving so that the juices can thicken.
Many times when Nana lets the apples sit with the spices, the apples will make more juices than needed in the pie. Not to worry. We often cut more apples than we need also, so Nana throws them in a skillet with those juices and a little butter and cooks them until softened. It is a delicious snack by itself, or you can add it to your oatmeal, serve with granola, or serve them on top of vanilla ice cream.